
Unsure about what to wear for a day of ice climbing? Has it been a friction point for getting into the sport? Let us help you out!
We’ve broken down clothing system to 3 stages: approach, climbing, and belaying. The clothing systems have been outlined for each, with added some notes. Along with that, we’ve also provided some product suggestions from one of our headline sponsors, MEC!
Let us first note that there’s no hard and fast rules to layering, just guidelines. How warm/cold you can get depends on your metabolism, what you ate that day, body-type, fitness level, etc. Being properly hydrated can go a long way though!
1. APPROACH
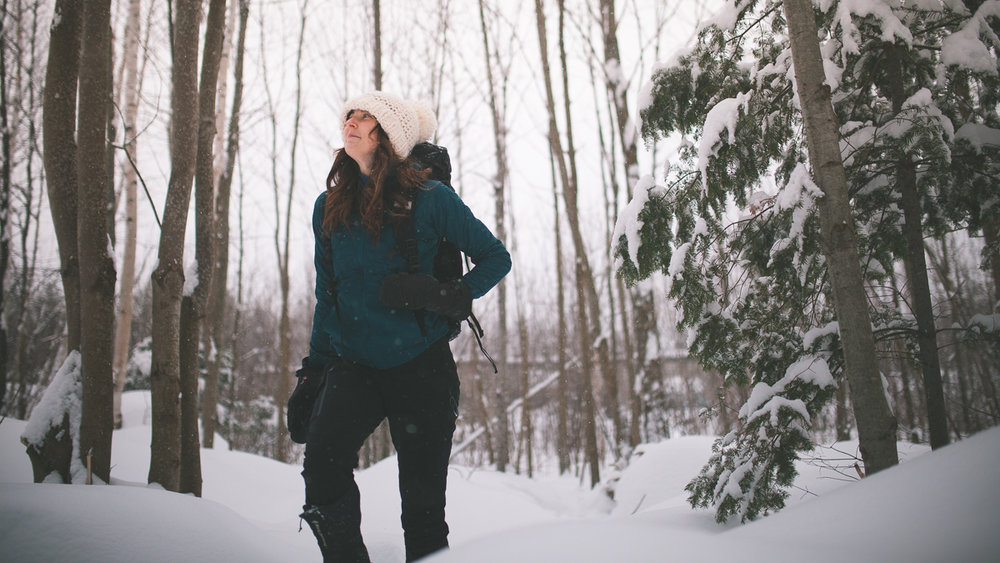
This is where you’ll likely build up the most heat, and where proper laying can arguably the most important part for a fun day at the cliff. If you over-layer, you’ll be a sweaty mess, risking hypothermia when sweat cools down. If you under-layer, you don’t risk as much, but you’ll be jone’sing to work harder on the approach to build up heat.
- For wooded areas, you can likely ditch the windbreaker, but for open lakes (most of Ontario ice approaches), a windbreaker can be crucial
- If you just want to sweat it out on the approach, you can also bring a second set of clothing to change into at the cliff
- Account for terrain and weather conditions. Flat and packed out trails mean you’ll be working less than a steep uphills in waist deep snow
- Your back will likely be insulated and protected by your pack, so if you have any paneled clothing that has an open back (some winter running jackets), that’ll work great
- If the approach is short, you can wear your full climbing setup, as you likely won’t build up enough heat to worry about sweating
- If you’ve decided to wear a shell jacket to cut wind on the approach, most will have pit-zips to dump heat if you need to
- Doesn’t hurt to keep your puffy jacket on while you wait for anyone to pack their bags at the parking lot – ask for a puffy warning before packing yours away!
BASE – The most important piece on the approach! You’ll want to prioritize moisture transport off your skin – tight fitting synthetics work best in this case.
MEN
Bottom: T2 Long Johns ($39)
Top: T3 Zip Top ($65)
WOMEN
Bottom: T2 Long Johns ($39)
Top: T3 Zip T ($69)
OUTER – This layer is primarily to keep wind off your back and snow from getting inside. This piece be either heavier or lighter depending on the length of the approach. If you only had to pick one though, we recommend a light weight puffy or softshell.
MEN
Bottom: Highpoint Pants ($165)
Top: Obsession Hoody ($165), Slipstream Hoodie ($99)
WOMEN
Bottom: Ferrata Pants ($119)
Top: Obsession Hoodie ($155), Clarion Hoodie ($89)
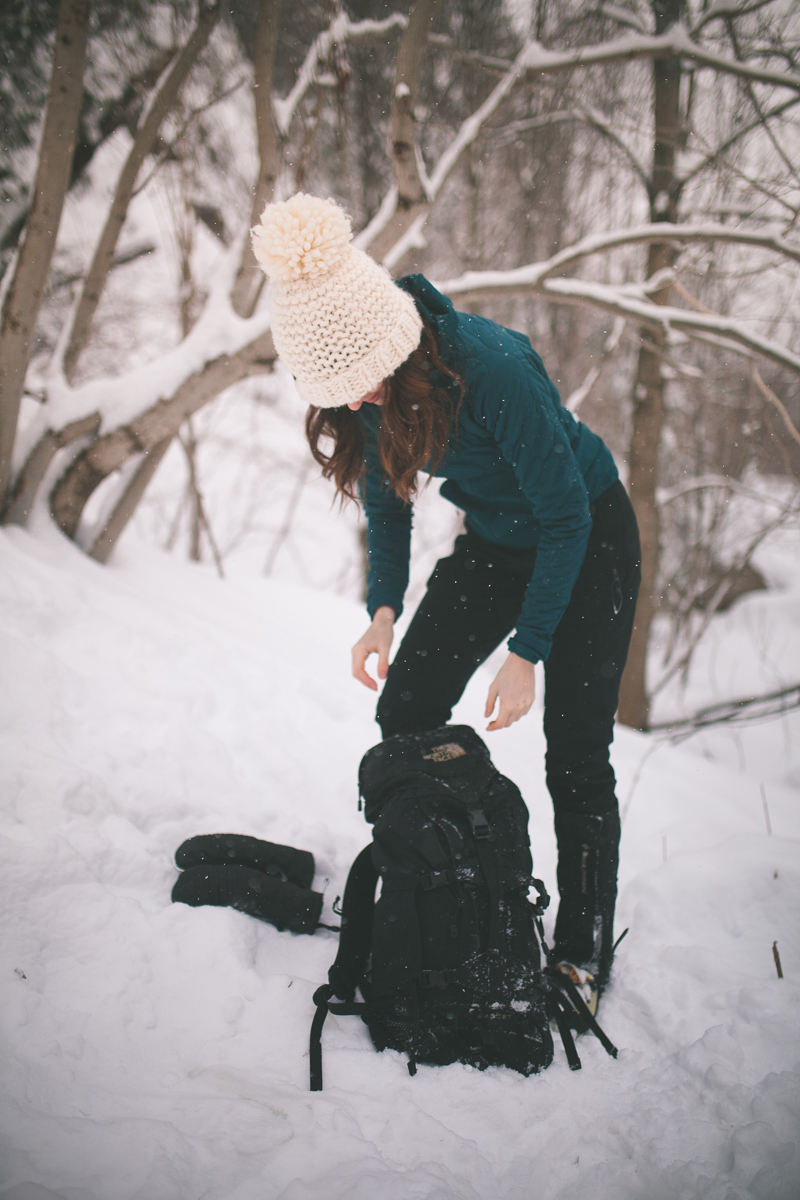
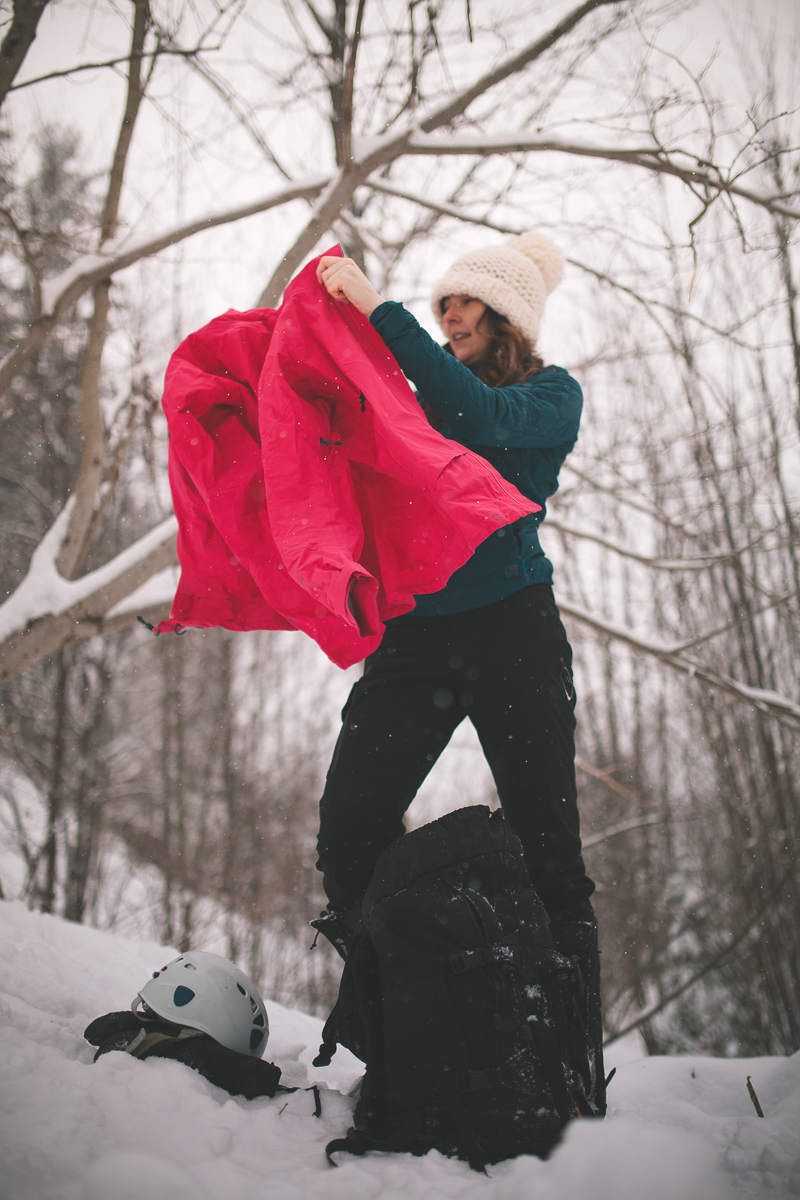
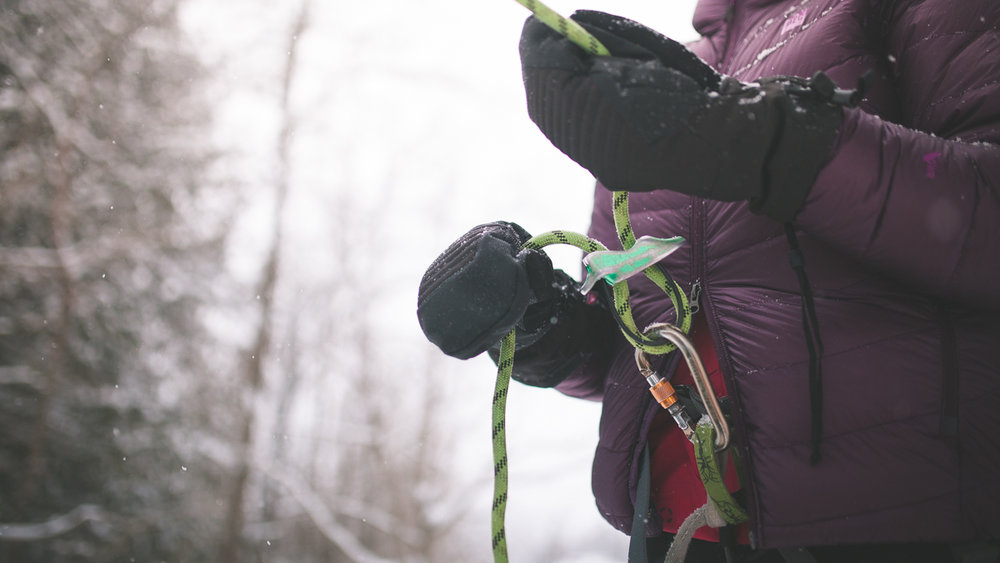
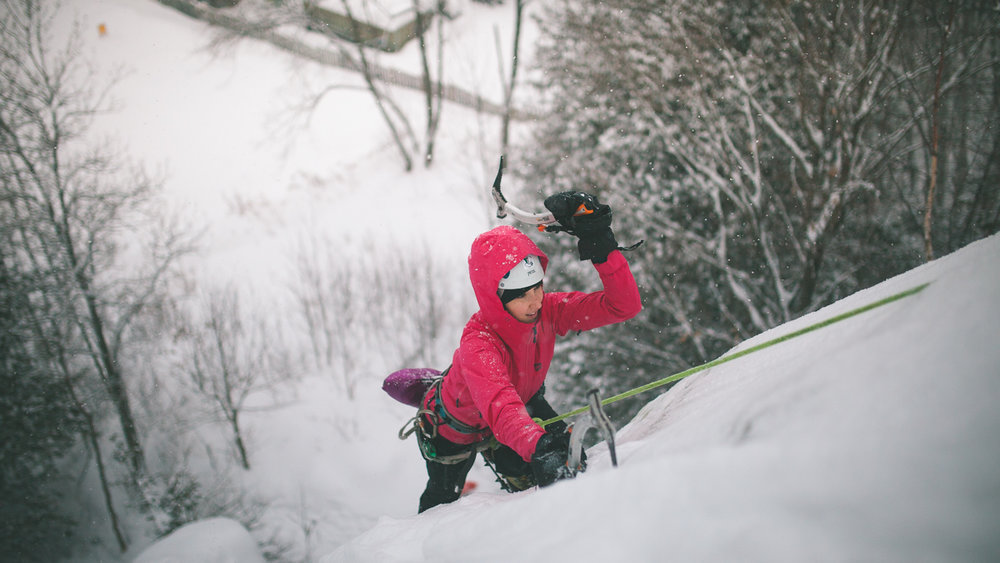
2. CLIMBING
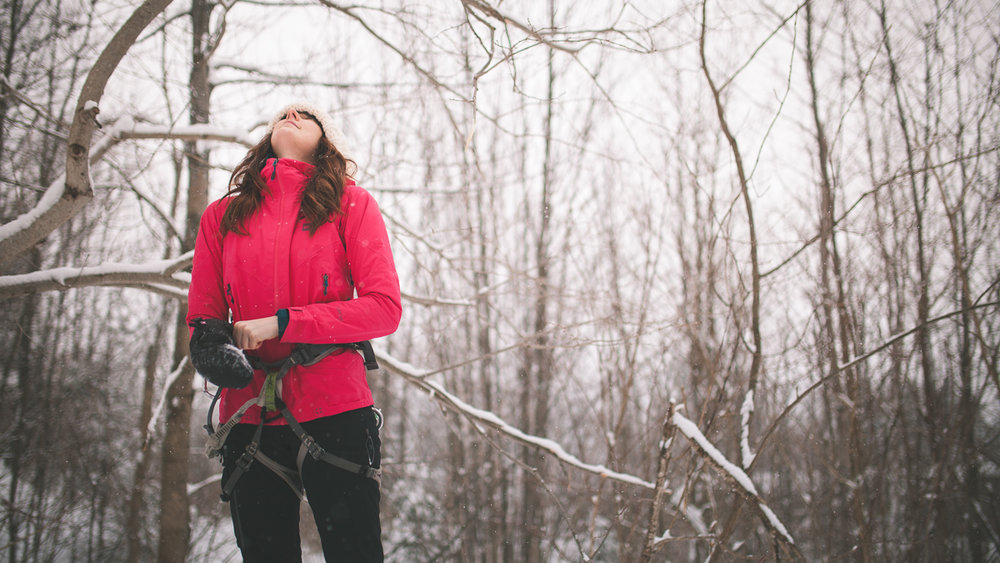
This is where it gets fun and the clothing can have pretty specific features. Generally for ice climbing, you’ll want to make sure that the sleeves don’t rise too much when you lift your arms, mid/outer layer pockets don’t get obstructed when you wear your harness, and the hood is helmet-compatible.
- Early and late season ice climbs are generally pretty drippy, so having a hard-shell outer layer is a definite luxury
- Make sure your gloves fit the sleeves of your jacket. It’s sometimes a hassle, as some gloves are meant to go over or under a sleeve, and some sleeves are meant to go over or under gloves.
- For scruffy mixed climbs where you’ll be rubbing your body against rock, we recommend a softshell outer to handle the abrasion
Base – The same as approach, this is layer’s primary job is to transport moisture from your skin.
Mid – This will be your main insulating piece. You’ll want it to be quite breathable, as the moisture from the baselayer will need low resistance to pass through. You can use as per your “Outer” layer on approach, but we do recommend that this piece not have a membrane when used as a layered insulating piece.
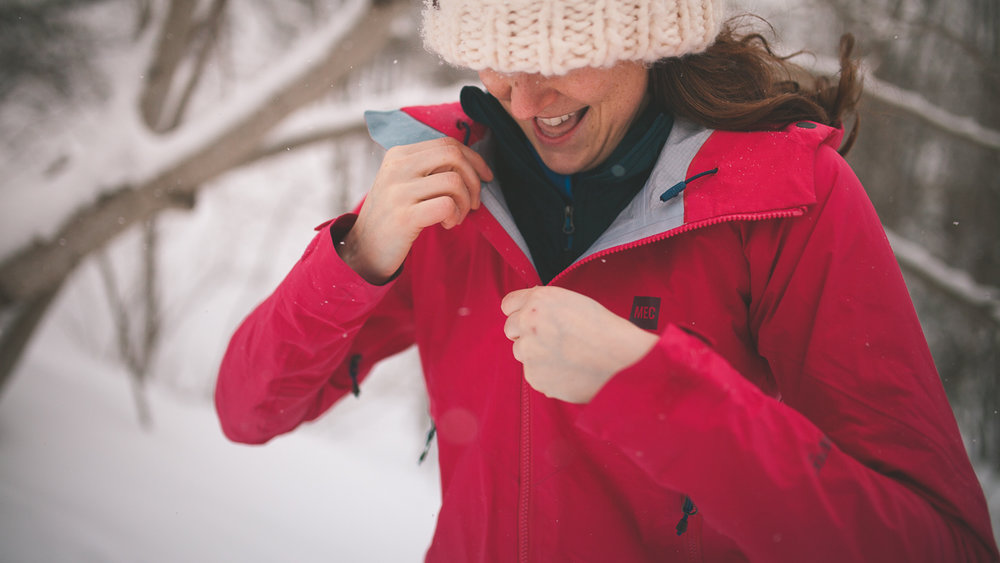
Shell/Outer – Your protection from the elements, and the one you’ll want to be built specifically for climbing (if possible). The primary purpose for this layer is to cut wind, and keep you dry from drippy climbs and precip. You’ll likely want this layer to have a wind/water proof membrane.
MEN
Bottom: Alpine Ally ($170)
Top: Synergy Jacket ($425)
WOMEN
Bottom: Alpine Ally Pants ($170)
Top: Alpine Ally Jacket ($250)
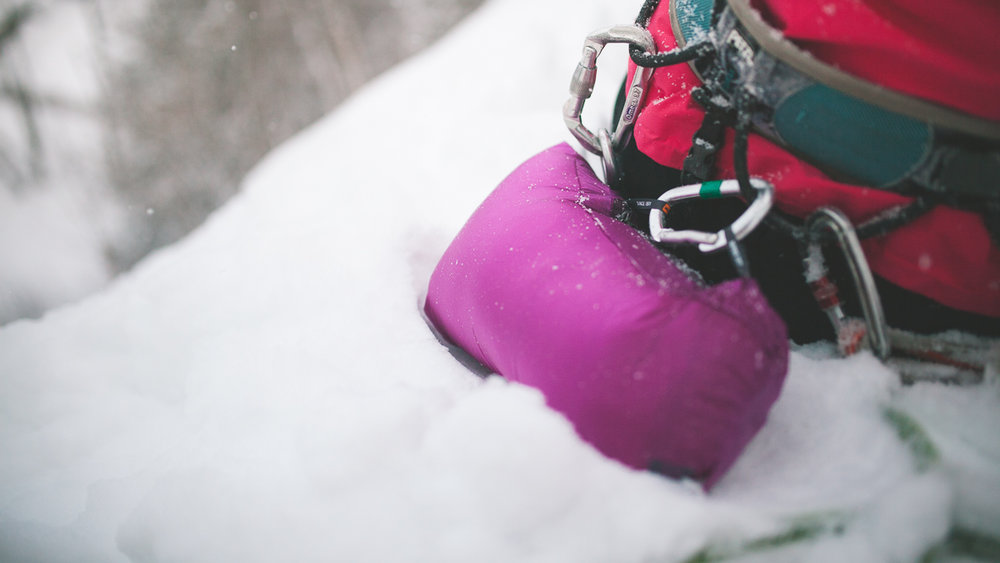
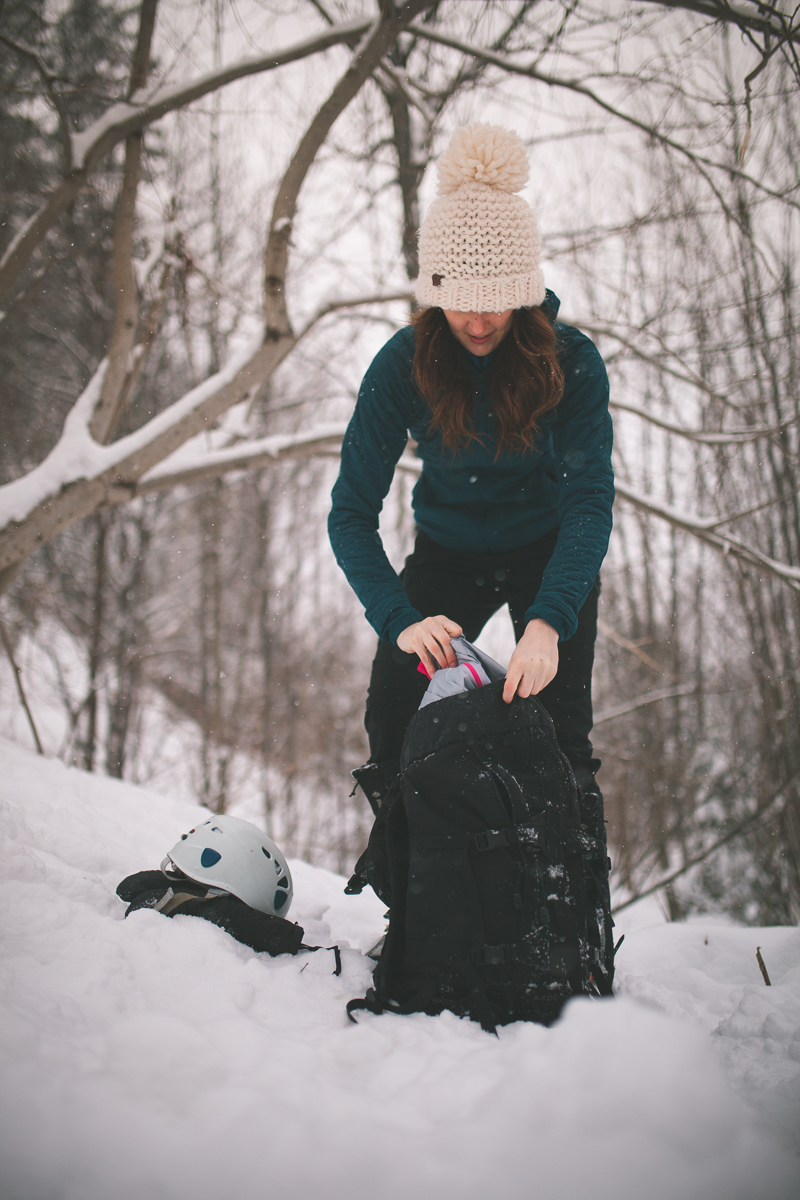
3. BELAY
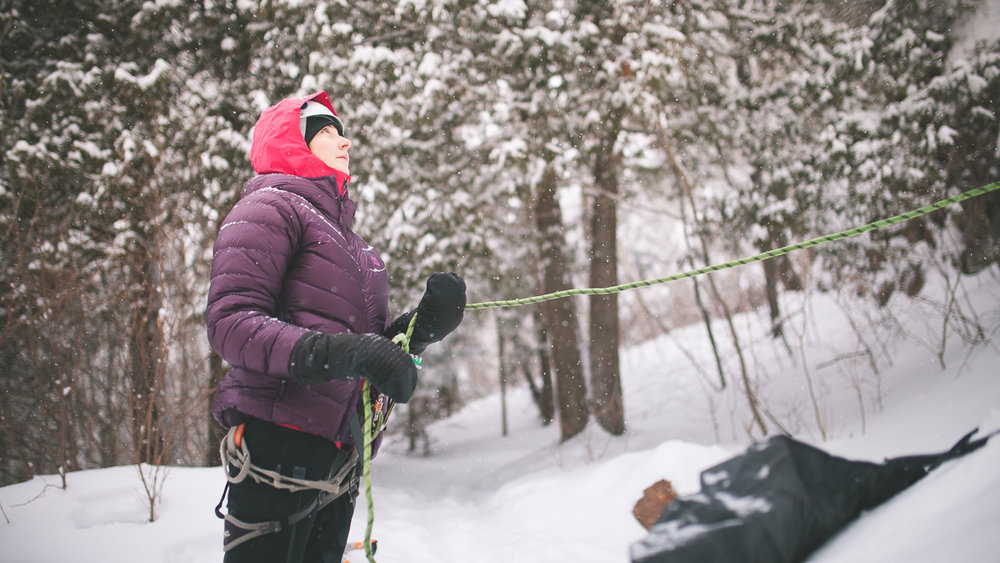
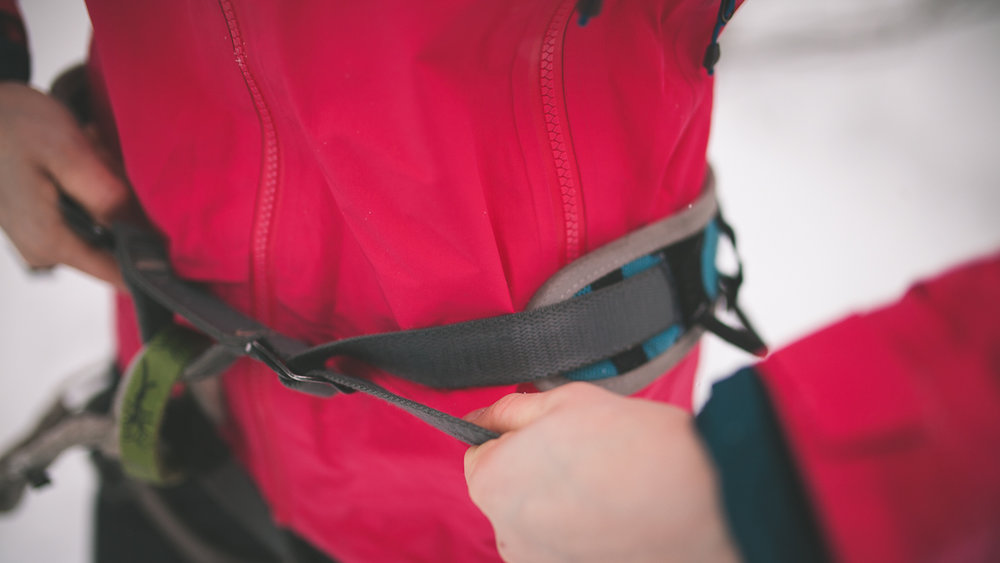
This is the ace in your back pocket, and quite often the most moral boosting piece of gear. You’ll want it to be comfy, and as puffy as possible. This layer is the last piece that should go on, over top of everything else you’re wearing. Some helpful features include: a double zipper that allows you to sneak your belay loop out without riding up the jacket, and a stuff pocket/sack that allows you to put it away during multi-pitch routes.
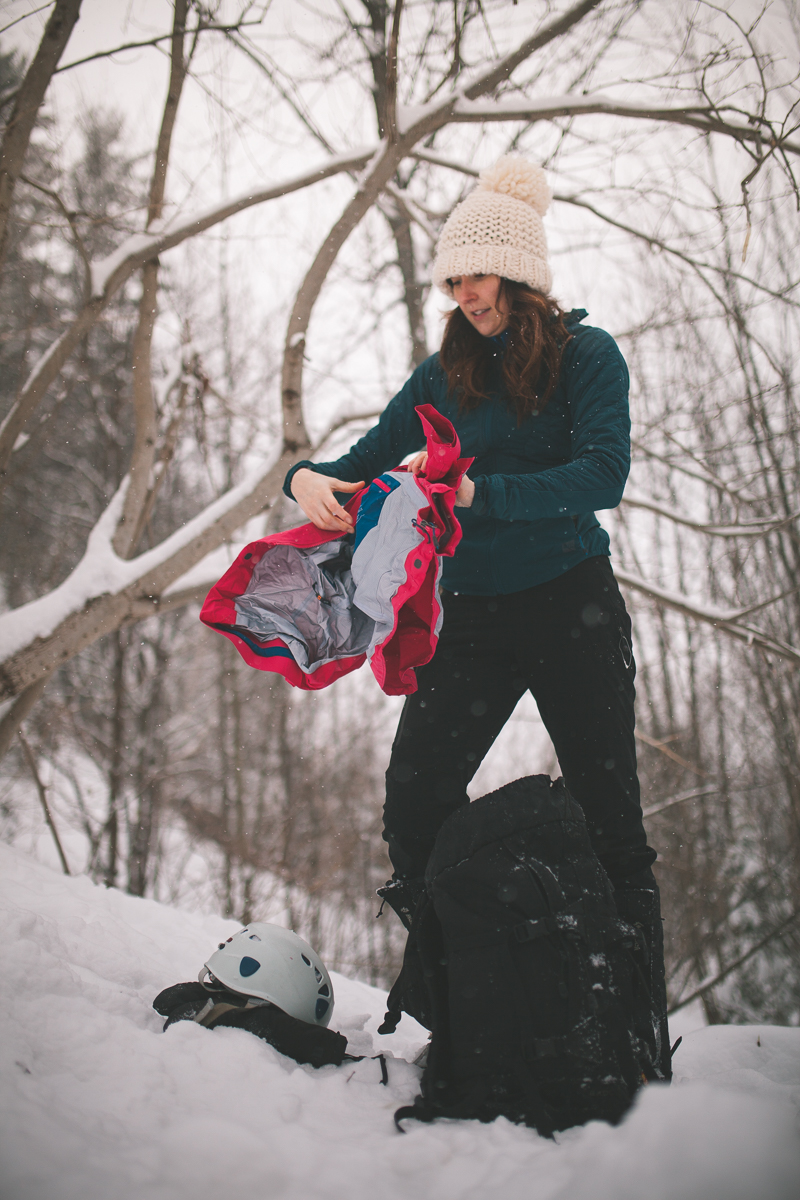
- Big and deep mesh pockets on the inside are great for drying out dedicated climbing gloves while you belay
- There’s a lot of puffy jackets out there that are better suited as mid-layer pieces or for warmer weather… just pick the biggest one you can for a winter belay jacket, you won’t regret it
- The technology for synthetics is getting good enough now that it’s matching some down products. Pick either one depending on the climate you’ll be climbing in. General rule of thumb: If you prioritize warmth and weight savings, pick down. If you prioritize cost and low maintenance, pick synthetic.
- For extra cold days, puffy pants are also an option too!
MEN
Top: Radiator Parka ($250)
WOMEN
Top: Hot Cocoa Parka ($329)
… that’s it – go climb!
We hope that our layering article leads to more enjoyable ice climbing days! See you out at #SOIceFest2!
– your pals at the Southern Ontario Ice Fest & MEC
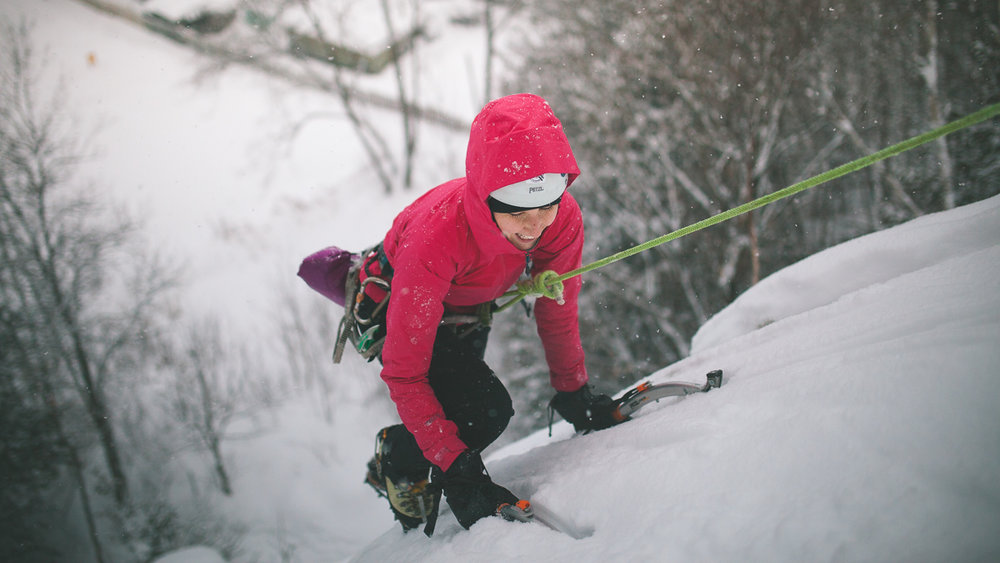
Photography: Peter Hoang
Model: Alisha Nachma